When configuring SSL on an IIS (Internet Information Services) server, you often need to provide the certificate in PFX (Personal Information Exchange) format. If your SSL certificate is in the CRT format, you must convert it to PFX before IIS can use it. This guide explains how to perform the conversion step-by-step.
Prerequisites
Before you start, ensure you have the following:
- CRT Certificate File: This is the certificate file provided by your certificate authority (CA).
- Private Key File: The private key file (.key) is generated during the CSR (Certificate Signing Request) process.
- OpenSSL: A powerful command-line tool for working with SSL certificates. You can download it from the OpenSSL website or use a Linux/macOS system where OpenSSL is pre-installed.
Steps to Convert CRT to PFX
1. Combine the CRT and Key Files
The PFX format requires both the certificate and its private key. Use the following OpenSSL command to bundle them:
openssl pkcs12 -export -out certificate.pfx -inkey private.key -in certificate.crt-export: Specifies that a PFX file will be created.-out certificate.pfx: The output PFX file name.-inkey private.key: The private key file associated with the certificate.-in certificate.crt: The certificate file.
2. Provide a Password
When running the above command, OpenSSL will prompt you to create a password for the PFX file. This password will protect the PFX file and must be entered later when importing it into IIS.
Adding a CA Bundle (Optional)
If your certificate authority provided a CA bundle file (often named bundle.crt or ca-bundle.crt), you should include it in the command:
openssl pkcs12 -export -out certificate.pfx -inkey private.key -in certificate.crt -certfile ca-bundle.crtThe -certfile option ensures the CA chain is included in the PFX file.
Importing the PFX File to IIS
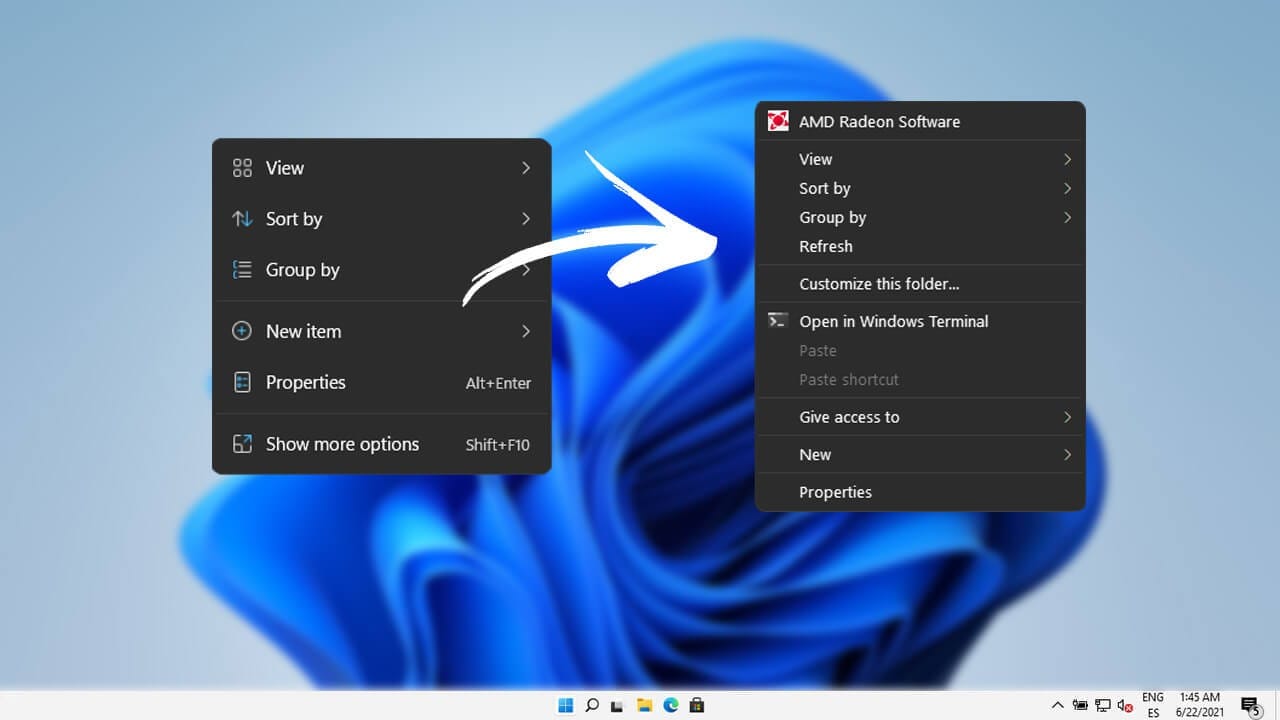
- Open IIS Manager:
- Press
Windows + R, typeinetmgr, and press Enter.
- Press
- Import the Certificate:
- In the left pane, select your server name.
- Double-click Server Certificates.
- Click Import on the right-hand side.
- Browse to your
.pfxfile, enter the password, and complete the import.
- Bind the Certificate:
- Open the Bindings of your website.
- Add or edit the HTTPS binding and select your imported certificate.
Troubleshooting Tips
- Error: Private Key Missing: Ensure you are using the correct private key that matches the CRT file. If you no longer have the private key, contact your CA to reissue the certificate.
- Incorrect Password: Ensure you remember the password used during PFX creation.
- OpenSSL Command Not Found: Install OpenSSL or ensure it is properly added to your system’s PATH.
Conclusion
Converting CRT certificates to PFX format is straightforward with OpenSSL. Once converted, the PFX file can be easily imported into IIS to enable secure HTTPS connections. By following the steps above, you can ensure a smooth process and secure your server effectively.